Starbucks Cake Pop Recipe (Easy Copycat)
Highlighted under: Cozy Baking Recipes
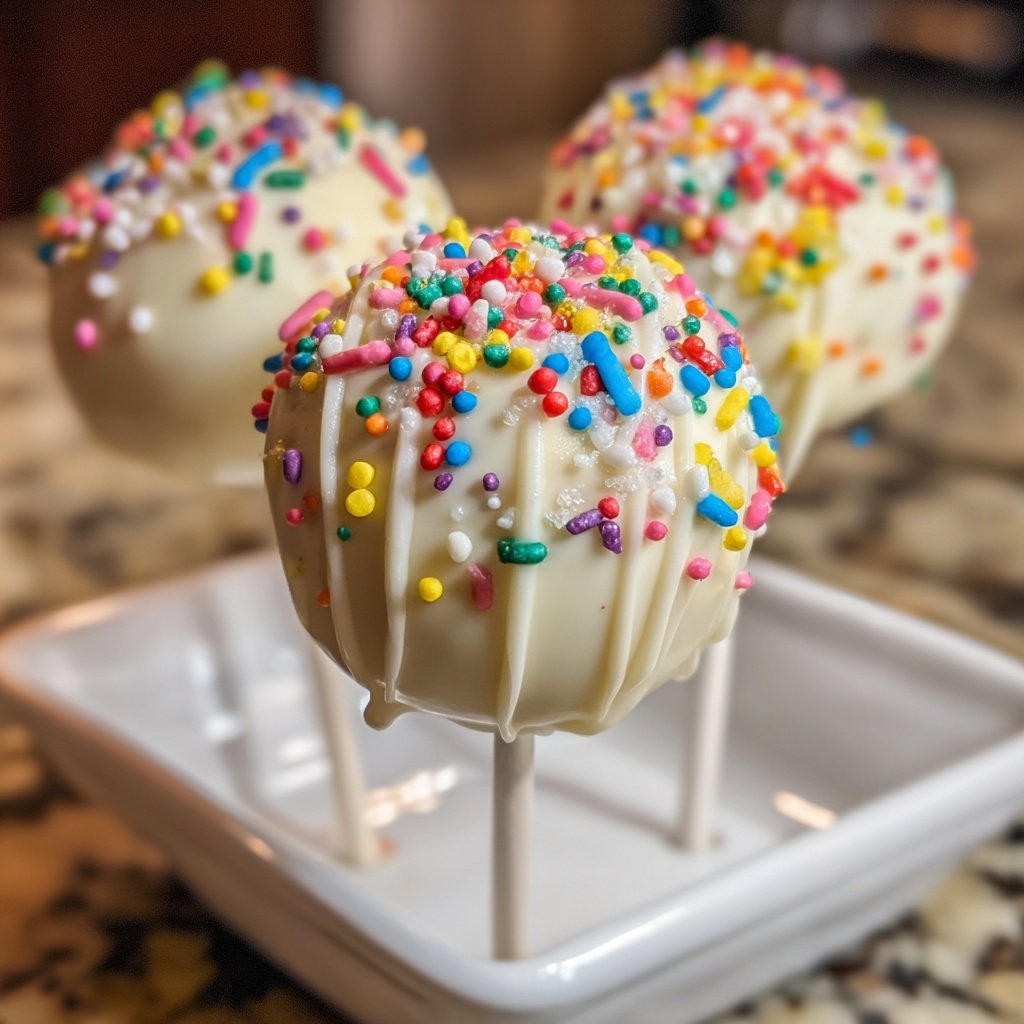
Recreate the iconic Starbucks cake pops at home with this easy copycat recipe. Perfect for parties or a sweet treat!
This Starbucks cake pop recipe captures the essence of the beloved treat. With a moist cake center and a chocolate coating, these pops are perfect for any occasion.
Why You'll Love This Recipe
- Deliciously moist cake center that melts in your mouth
- Customizable flavors and coatings to suit your taste
- Fun and easy to make with friends and family
The Joy of Homemade Cake Pops
Making cake pops at home is not just about enjoying a delicious treat; it's also a fun and rewarding activity. You can involve friends and family in the process, turning baking into a social event. Everyone can customize their cake pops with different flavors and toppings, making it a unique experience for each person involved. Plus, there's something incredibly satisfying about creating a beloved café treat right in your own kitchen.
These cake pops are perfect for any occasion, whether you're celebrating a birthday, hosting a baby shower, or simply indulging in a sweet craving. They are easy to transport, making them a great option for parties or potlucks. With their vibrant colors and delightful flavors, they are sure to be a hit with guests of all ages.
Customizing Your Cake Pops
One of the best aspects of making cake pops is the ability to customize them to your liking. You can start with any flavor of cake mix—chocolate, vanilla, red velvet, or even lemon. The choice of frosting also allows for creativity; cream cheese frosting pairs beautifully with red velvet, while buttercream works well with vanilla or chocolate cakes. Don't hesitate to experiment and find your favorite combinations!
Coating your cake pops is another opportunity for creativity. While chocolate melting wafers are a classic choice, you can also use white chocolate, caramel, or even candy melts in various colors. Adding sprinkles, crushed nuts, or even edible glitter can elevate your cake pops and make them visually stunning. The only limit is your imagination!
Tips for Perfect Cake Pops
To achieve the perfect cake pop texture, ensure that your cake is fully cooled before crumbling it. This helps in mixing the frosting evenly and forming smooth balls. If the mixture feels too crumbly, add a little more frosting until it reaches the right consistency. Conversely, if it's too wet, you can sprinkle in some more cake mix to balance it out.
When dipping the cake pops in chocolate, ensure that the coating is not too thick. If necessary, thin it out with a small amount of vegetable oil to achieve the right consistency. This will prevent the chocolate from weighing down the cake pop and causing it to fall off the stick. Patience is key; let each layer set before adding additional decorations.
Ingredients
For the Cake Pops
- 1 cup of cake mix
- 1/2 cup of water
- 1 egg
- 1/4 cup of frosting
- 12 lollipop sticks
- 1 cup of chocolate melting wafers
- Sprinkles (optional)
Gather all your ingredients before you start for a smooth preparation process.

Instructions
Bake the Cake
Preheat your oven to 350°F (175°C). In a mixing bowl, combine the cake mix, water, and egg. Mix until smooth, then pour into a greased cake pan. Bake for 15 minutes or until a toothpick comes out clean. Allow to cool.
Prepare the Cake Pops
Once the cake is cooled, crumble it into a large bowl. Add the frosting and mix until well combined. Form small balls with the mixture and place them on a baking sheet. Insert lollipop sticks into each ball and freeze for about 30 minutes.
Coat the Cake Pops
Melt the chocolate wafers according to package instructions. Dip each cake pop into the melted chocolate, ensuring it's fully coated. Allow excess chocolate to drip off, then place the pops upright in a foam block or a cup. Add sprinkles if desired.
Serve and Enjoy
Let the cake pops set for about 30 minutes. Enjoy your homemade Starbucks cake pops!
Enjoy your delicious cake pops as a sweet treat or dessert!
Pro Tips
- Experiment with different flavors of cake mix and frosting for unique cake pops.
Storing Your Cake Pops
Once your cake pops are ready, proper storage is essential to maintain their freshness. You can keep them at room temperature for a day or two, but for longer storage, place them in an airtight container in the refrigerator. They can last up to a week in the fridge, making them a great make-ahead treat for gatherings.
If you want to keep your cake pops even longer, consider freezing them. After the chocolate coating has set, place them in a single layer in a freezer-safe container. They can last up to a month in the freezer. Just be sure to let them thaw in the refrigerator before serving to maintain their texture.
Serving Suggestions
Cake pops make a fantastic addition to any dessert table. You can display them in a decorative foam block or a stylish jar to create an eye-catching centerpiece. Pair them with other treats like cookies or cupcakes for a delightful dessert spread that will impress your guests.
For a themed party, consider matching the cake pop decorations to your event's color scheme. Using colored chocolate melts and coordinating sprinkles can tie your dessert table together beautifully. These little treats can even serve as party favors, wrapped in clear bags and tied with colorful ribbons.
Questions About Recipes
→ Can I use homemade cake instead of cake mix?
Yes, you can use any type of homemade cake, just ensure it's moist for best results.
→ How do I store leftover cake pops?
Store cake pops in an airtight container at room temperature for up to 5 days.
→ Can I freeze the cake pops?
Yes, you can freeze uncoated cake pops for up to 3 months. Just allow them to thaw before coating.
→ What can I use instead of chocolate melting wafers?
You can use chocolate chips, but melting wafers are recommended for a smoother coating.
Starbucks Cake Pop Recipe (Easy Copycat)
Created by: Rebecca Mills
Recipe Type: Cozy Baking Recipes
Skill Level: Easy
Final Quantity: 12 pops
What You'll Need
For the Cake Pops
- 1 cup of cake mix
- 1/2 cup of water
- 1 egg
- 1/4 cup of frosting
- 12 lollipop sticks
- 1 cup of chocolate melting wafers
- Sprinkles (optional)
How-To Steps
Preheat your oven to 350°F (175°C). In a mixing bowl, combine the cake mix, water, and egg. Mix until smooth, then pour into a greased cake pan. Bake for 15 minutes or until a toothpick comes out clean. Allow to cool.
Once the cake is cooled, crumble it into a large bowl. Add the frosting and mix until well combined. Form small balls with the mixture and place them on a baking sheet. Insert lollipop sticks into each ball and freeze for about 30 minutes.
Melt the chocolate wafers according to package instructions. Dip each cake pop into the melted chocolate, ensuring it's fully coated. Allow excess chocolate to drip off, then place the pops upright in a foam block or a cup. Add sprinkles if desired.
Let the cake pops set for about 30 minutes. Enjoy your homemade Starbucks cake pops!
Extra Tips
- Experiment with different flavors of cake mix and frosting for unique cake pops.
Nutritional Breakdown (Per Serving)
- Calories: 150 kcal
- Total Fat: 7g
- Saturated Fat: 4g
- Cholesterol: 30mg
- Sodium: 85mg
- Total Carbohydrates: 22g
- Dietary Fiber: 1g
- Sugars: 15g
- Protein: 2g